Receipt Generation allows you to create a human-readable ID for each form submission. This can help users and administrators easily reference a submission after it has been completed.
There are two ways to create a Receipt ID:
- Use the built-in Receipt ID feature.
- Generate a Receipt ID through a custom URL or hosted API.
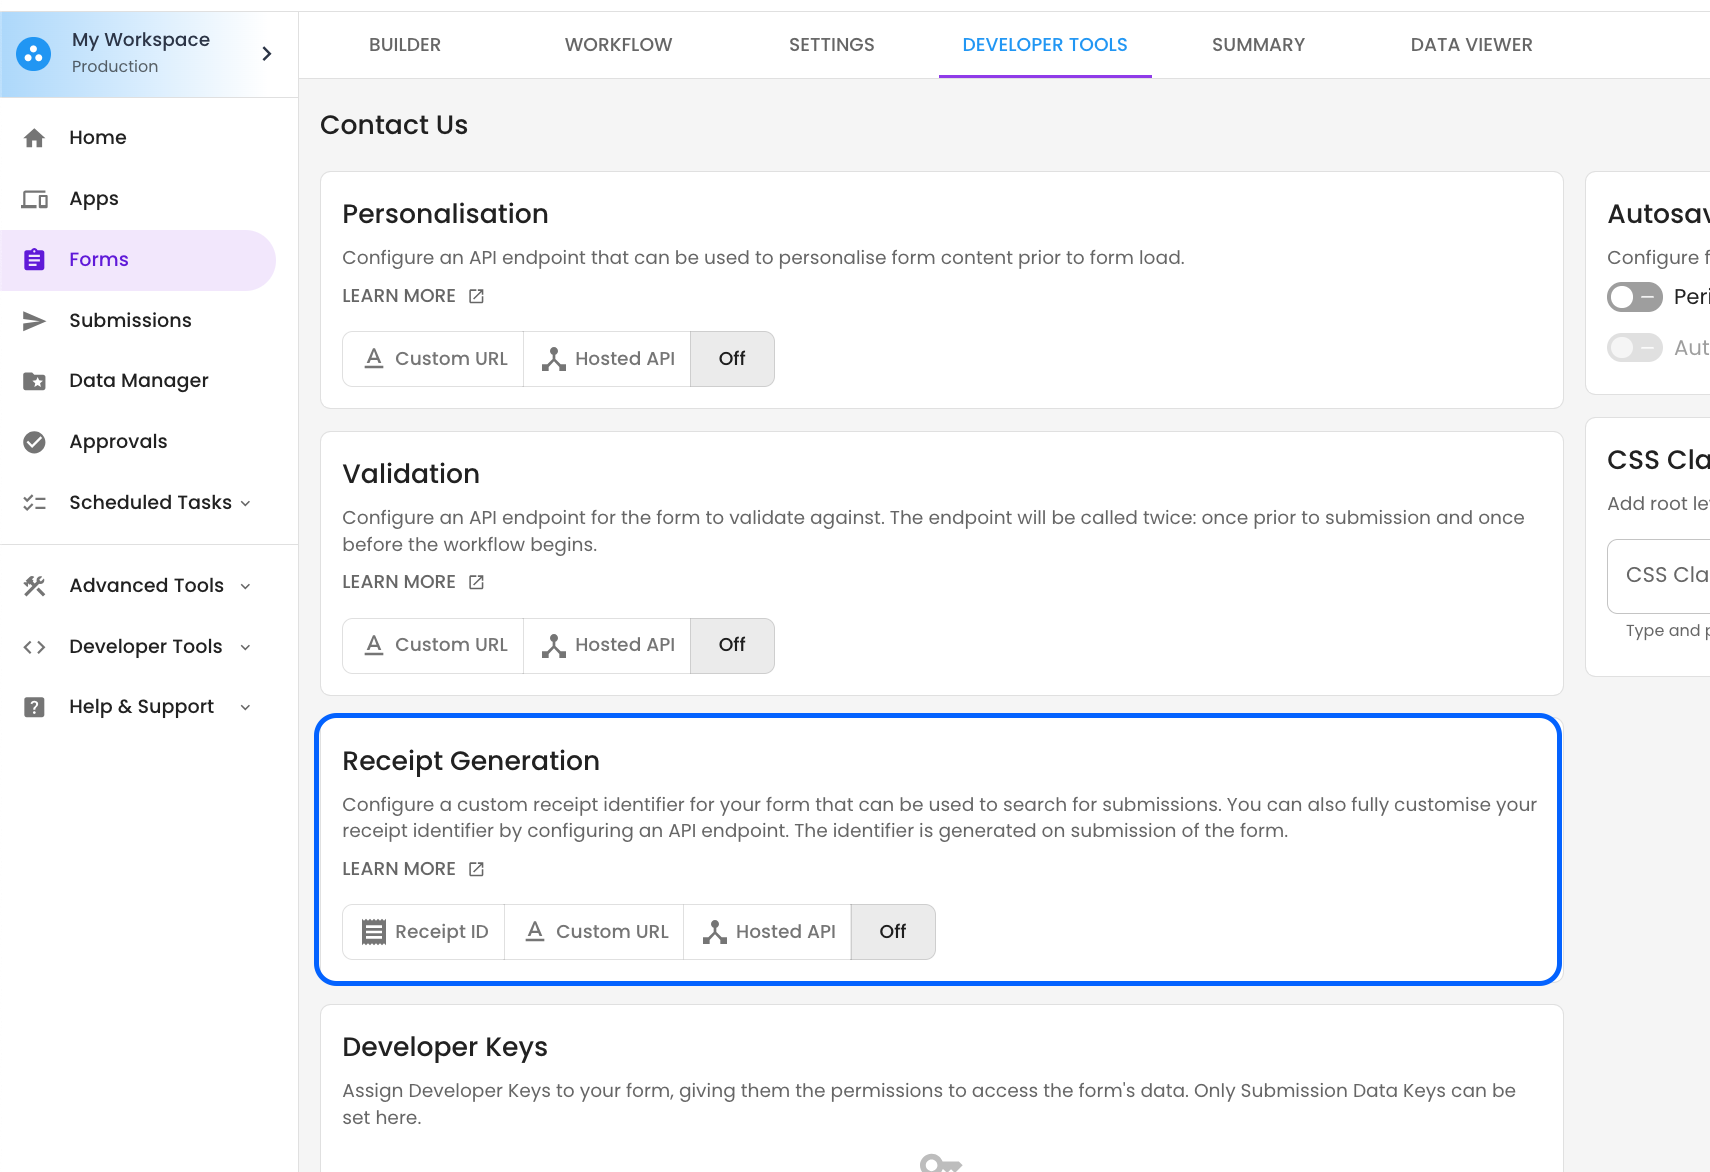
TABLE OF CONTENTS
Receipt ID
The built-in Receipt ID feature is available from the Developer Tools tab of your form.
By default, the Receipt ID is an 8-character random string made up of numbers and uppercase letters. You can customise the Receipt ID by adding components.
Receipt ID components can be:
- Text
- Date
- Random
- Sequential Number
You can add multiple components to a Receipt ID. The exception is Sequential Number, which can only be added once.
For example, you could create a Receipt ID that includes a text prefix, the month, the day, a separator, and a random 8-character string. An example Receipt ID will be displayed as you configure the components so you can preview the result.
If you need to guarantee that each Receipt ID is unique, include a Sequential Number component.
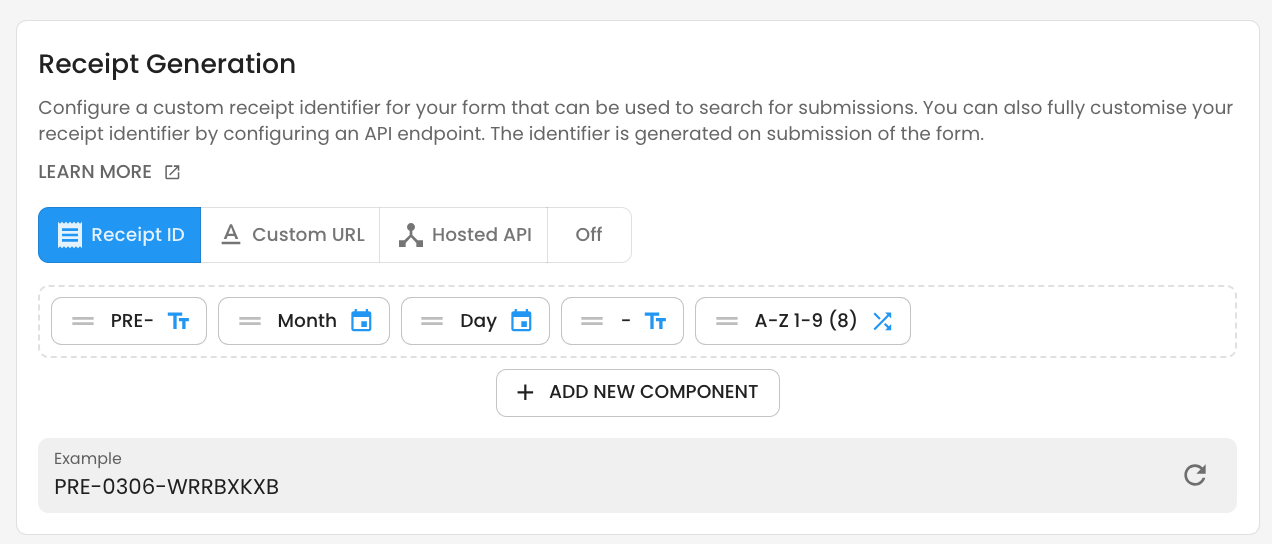
Add New Component
Adding a component allows you to control how the Receipt ID is generated.
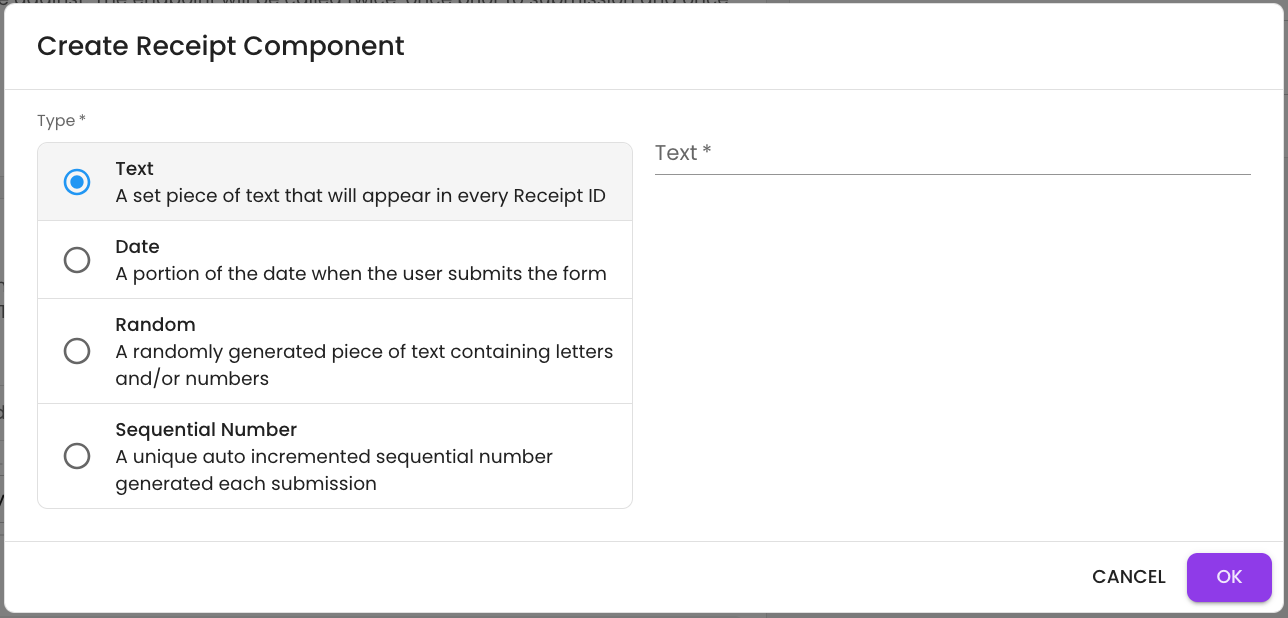
Text
The Text component adds fixed text to every Receipt ID. This can be used as a prefix or to separate sections of the Receipt ID, such as using a dash (-).
Date
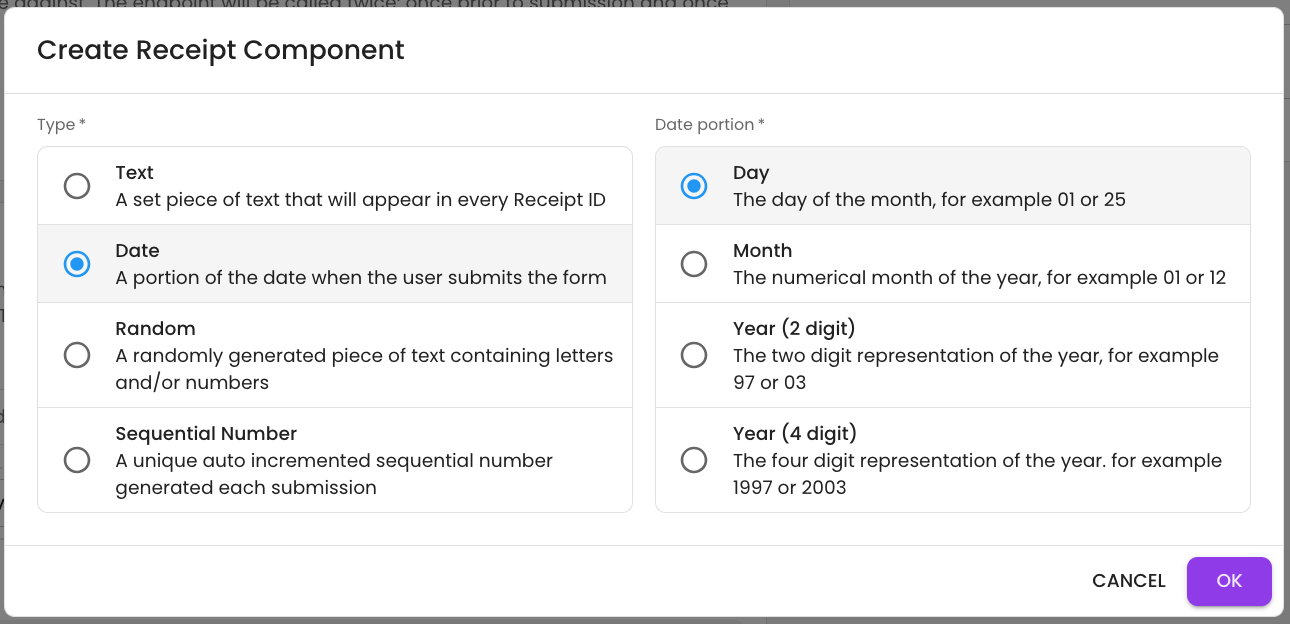
The Date component adds a selected date format to the Receipt ID. This can help users identify when a submission was completed by looking at the date section of the Receipt ID.
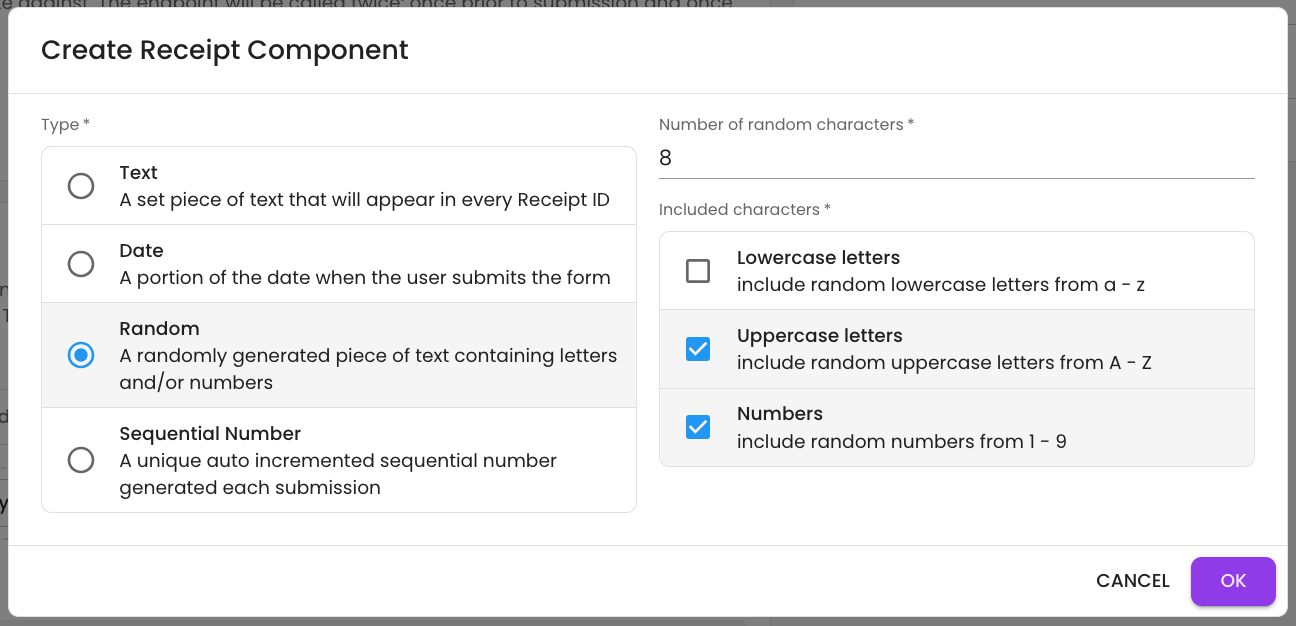
Random
The Random component adds randomly generated letters and/or numbers to the Receipt ID.
You can choose the number of characters and the character sets to include. To help avoid confusion, similar-looking characters are excluded from generated Receipt IDs, including i, I, l, L, o, O, and 0.
Sequential Number
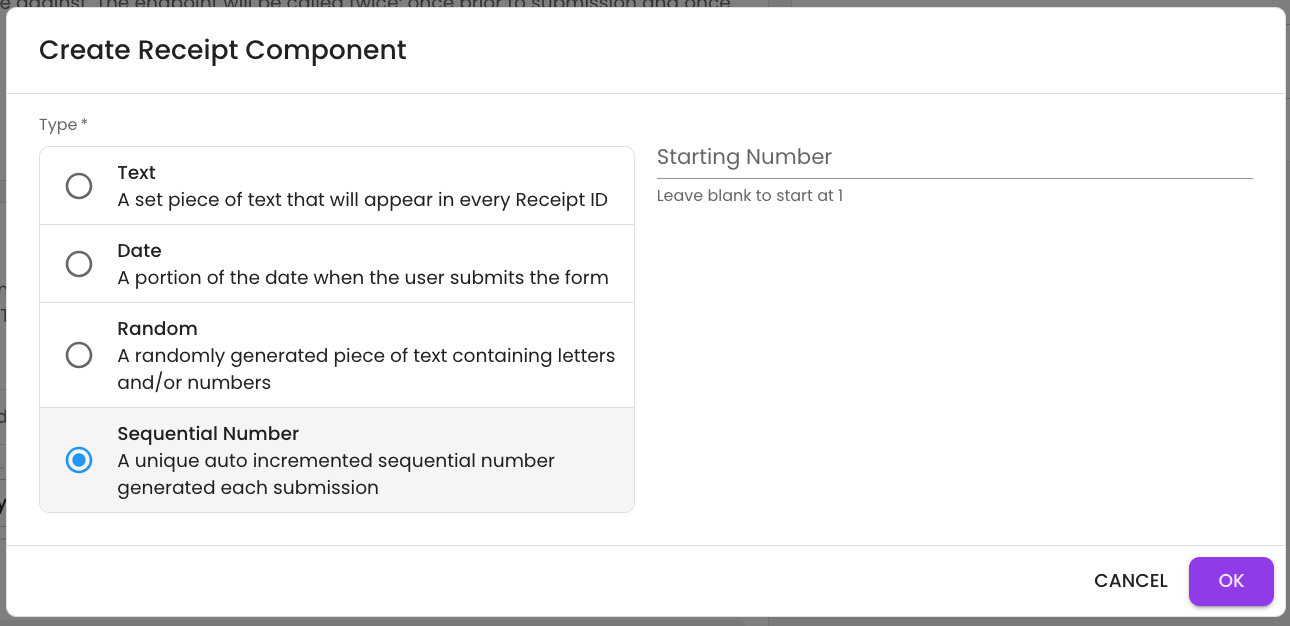
The Sequential Number component adds a sequential number to each submission.
You can enter a starting number if you want the sequence to begin at a higher value. Once the form has been submitted, the starting number cannot be added or changed.
Custom URL and Hosted API
If the built-in Receipt ID feature does not support your required format or logic, you can use a custom URL or hosted API endpoint.
This endpoint is called when the form is submitted and can return an external ID to be used as the Receipt ID.
Request Payload
Below is the type definition for the request payload:
{
  formsAppId: number
  formId: number
  externalIdUrlSearchParam: string | null
  draftId: string | null
  preFillFormDataId: string | null
  jobId: string | null
  previousFormSubmissionApprovalId: string | null
  submission: Record<string, unknown>
}
Response Payload
Below is the type definition for the response payload:
{
  externalId?: string
}
The externalId is required in the response payload when externalIdUrlSearchParam is provided in the request payload.
Error Handling
The only HTTP status supported for error handling when generating a receipt number through an API is 400.
The response payload should use the following format:
{
  "message": "<p>pretty html error message can go here</p>"
}
Presenting the Receipt ID to Users
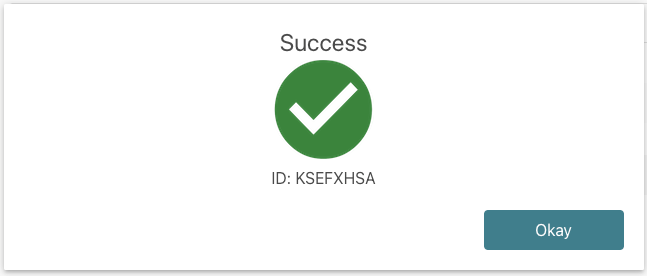
You can present the Receipt ID to users in the successful submission message or by redirecting them to a receipt page.
Submission Message
To display the Receipt ID in the successful submission message, follow the steps below:
Step 1: Open the Forms Settings tab.
Step 2: Go to the Buttons configuration.
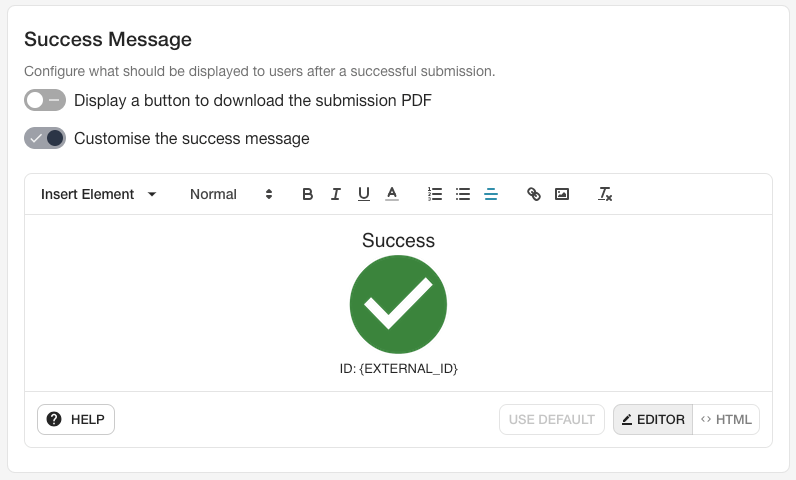
Step 3: Turn on Customise the success message.
Step 4: Click Use Default if you would like to start with the default message.
Step 5: Add {EXTERNAL_ID} to the Submission Message where you want the Receipt ID to appear.
Creating a Receipt Page
If you want to redirect the user to another form and display the Receipt ID there, you can use OneBlink pre-fill and redirect URL functionality.
Step 1: Create the receipt page.
Step 2: Add the receipt page URL as the redirect URL for your form.
Step 3: Add the following text to the end of the redirect URL, replacing name of your element with the element you want to pre-fill with the Receipt ID:
?preFillData={"name of your element":"{EXTERNAL_ID}"}
This will populate the selected element on the receipt page with the Receipt ID.
Getting Help
If you need any assistance with Receipt Generation, please reach out through the Report Issue menu or email support@oneblink.io.
Was this article helpful?
That’s Great!
Thank you for your feedback
Sorry! We couldn't be helpful
Thank you for your feedback
Feedback sent
We appreciate your effort and will try to fix the article