The Civica Authority integration allows you to connect your OneBlink account to Civica Authority, add Civica-specific form elements, and configure a workflow event to submit form data to Civica Authority CRM.
TABLE OF CONTENTS
- Setting up the Civica Authority Integration
- Civica Form Elements
- Configuring the Workflow Event
- PDF Configuration
- Retry on Failure
- Getting Help
Setting up the Civica Authority Integration
To configure your Civica Authority integration, follow the steps below:
Step 1: Open the Integrations menu in your account and click Setup Integration.
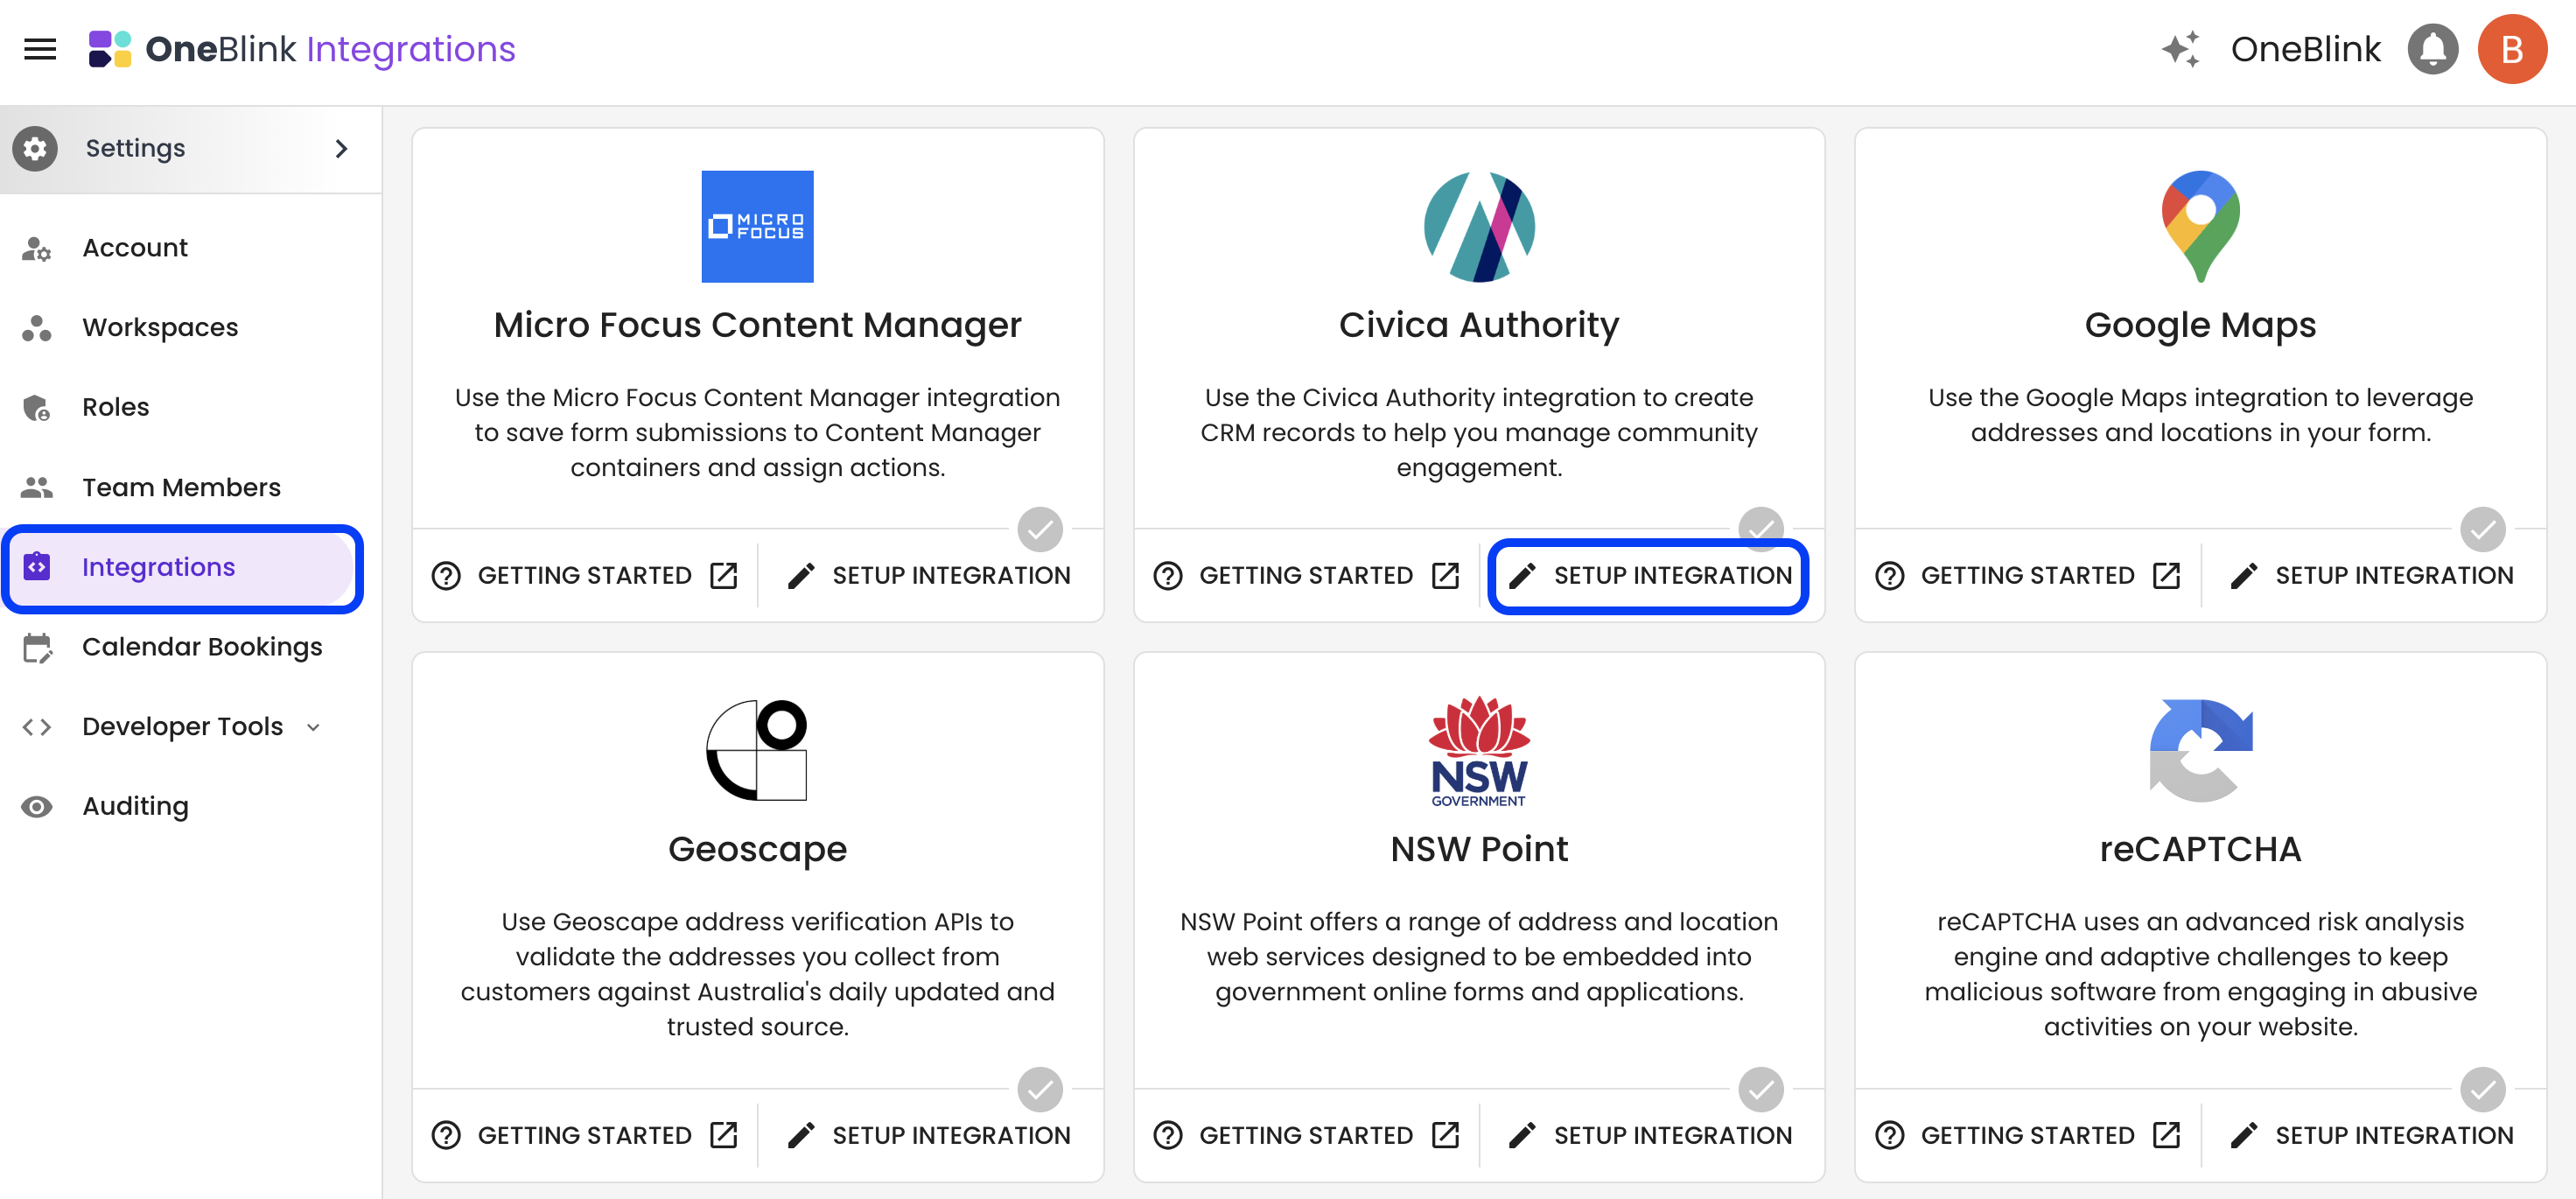
Step 3: Add the following Civica Authority integration details:
- Base URL
- Username
- Password
- If using OAuth
- Token URL
- Client ID
- Client Secret
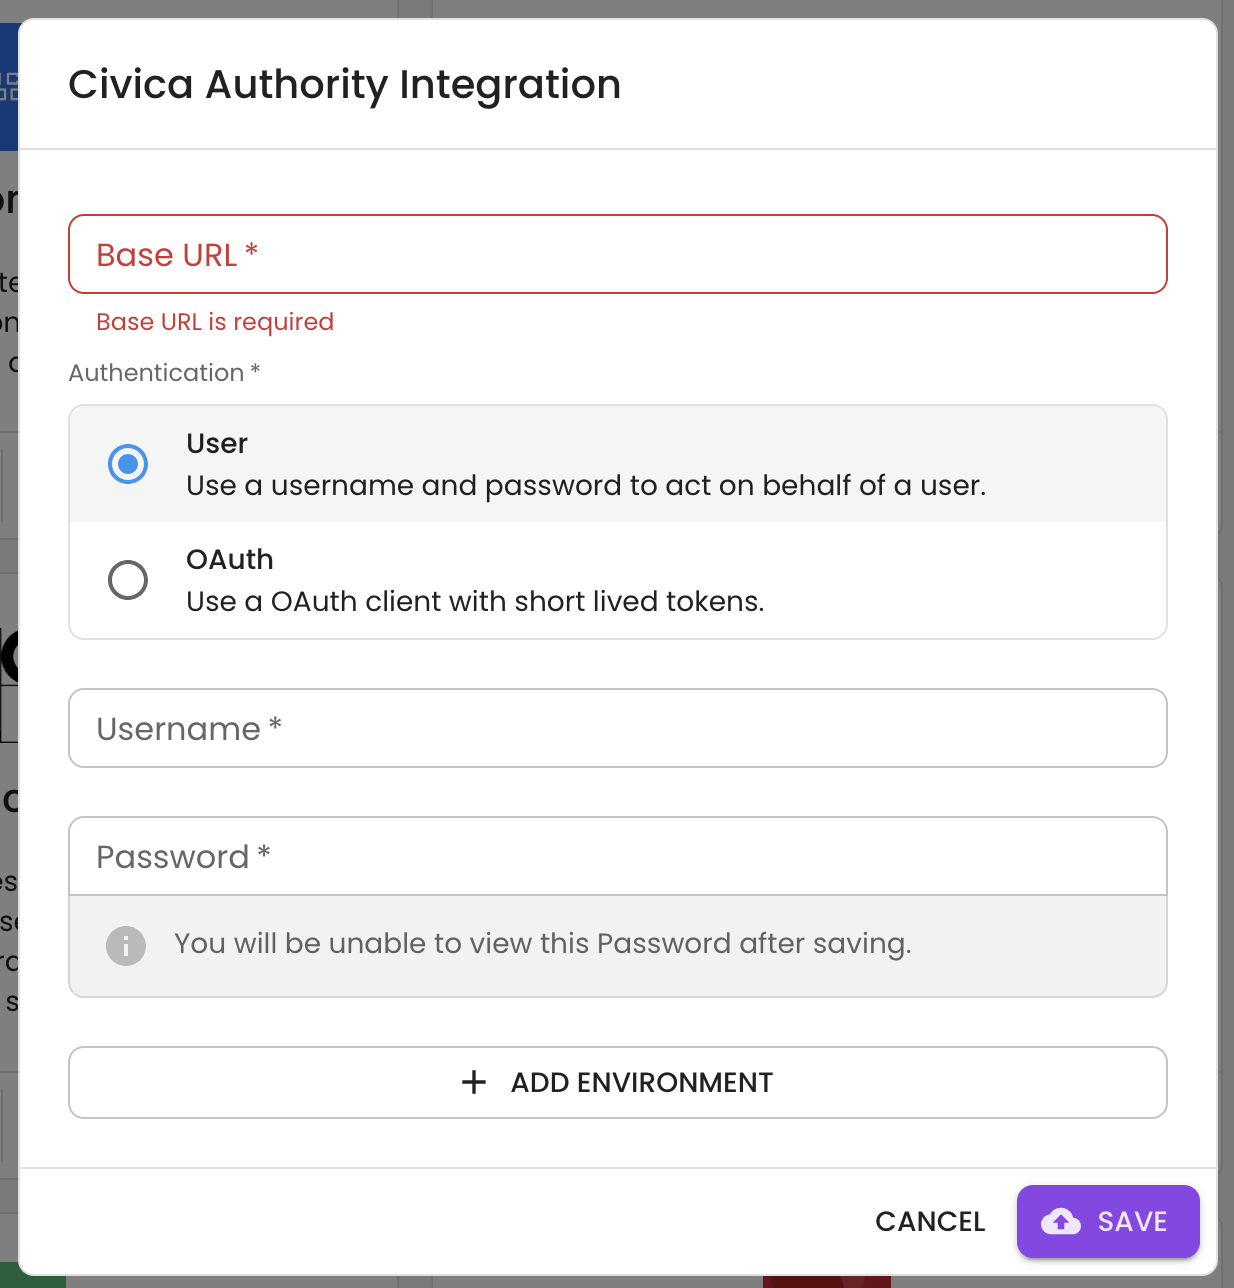
Step 4: Optionally, add additional environments.
If you add additional environments, you will also need to include a label for each environment.
Civica Form Elements
After configuring your Civica Authority integration, you can start building or modifying your form.
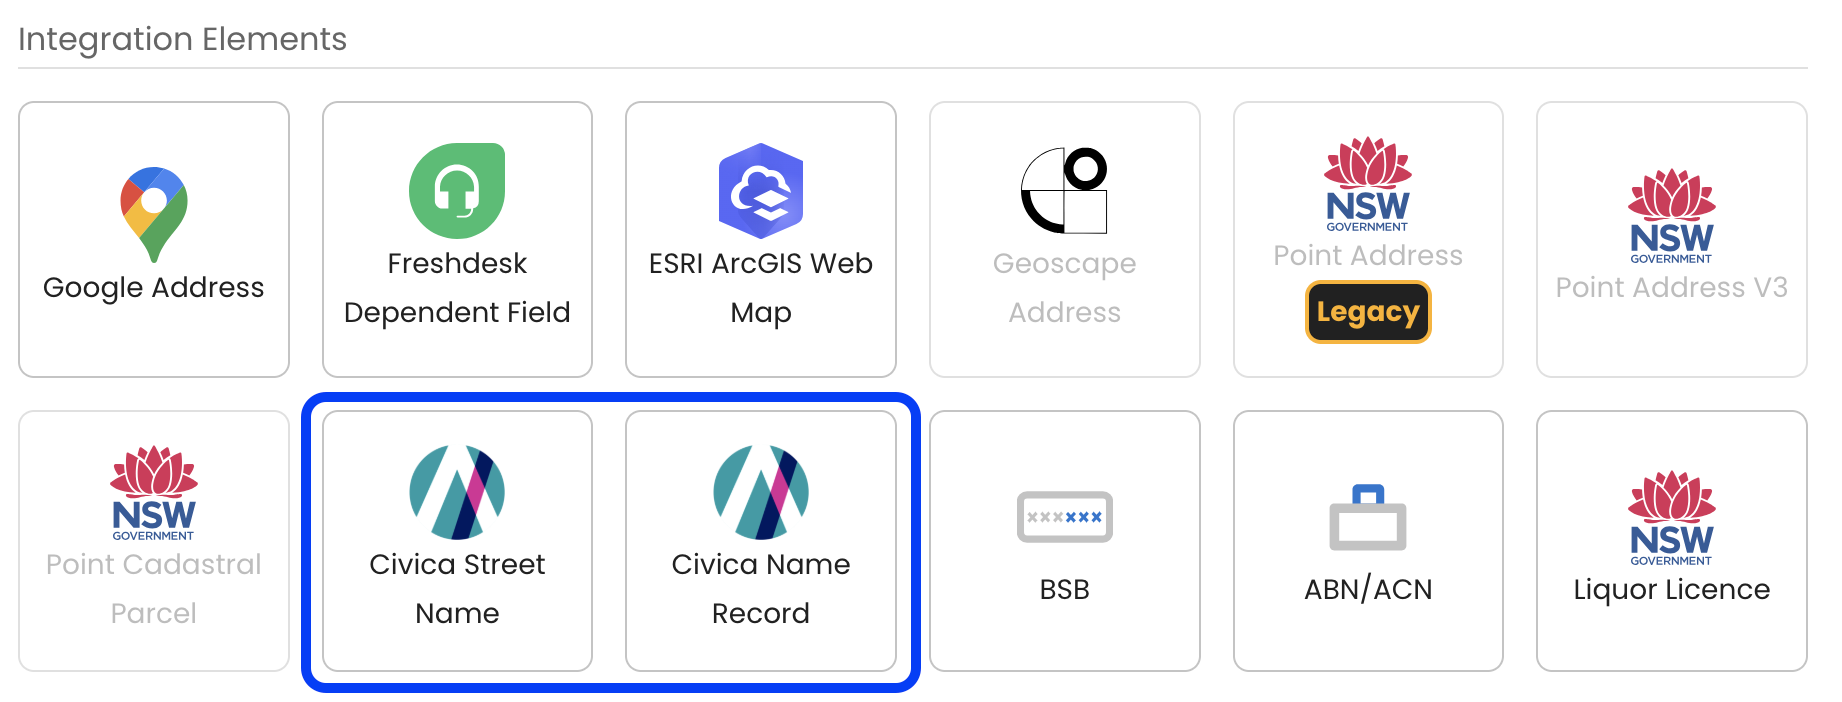
All Civica categories must contain a Name Record and a Street Name record. To support this, OneBlink includes specific form elements for capturing these records.
Civica Street Name
The Civica Street Name element is an autocomplete element. As a user starts typing, the element filters the available street name records from your configured Civica Authority instance.
Civica Name Record
The Civica Name Record element is made up of multiple fields.
At a minimum, the name record requires:
- Title
- Family name
- One street address
All other name record fields are optional by default. These fields can be configured as required or hidden, and their labels can be customised to suit your form.
Configuring the Workflow Event
After your form elements have been added, you can configure the submission event.
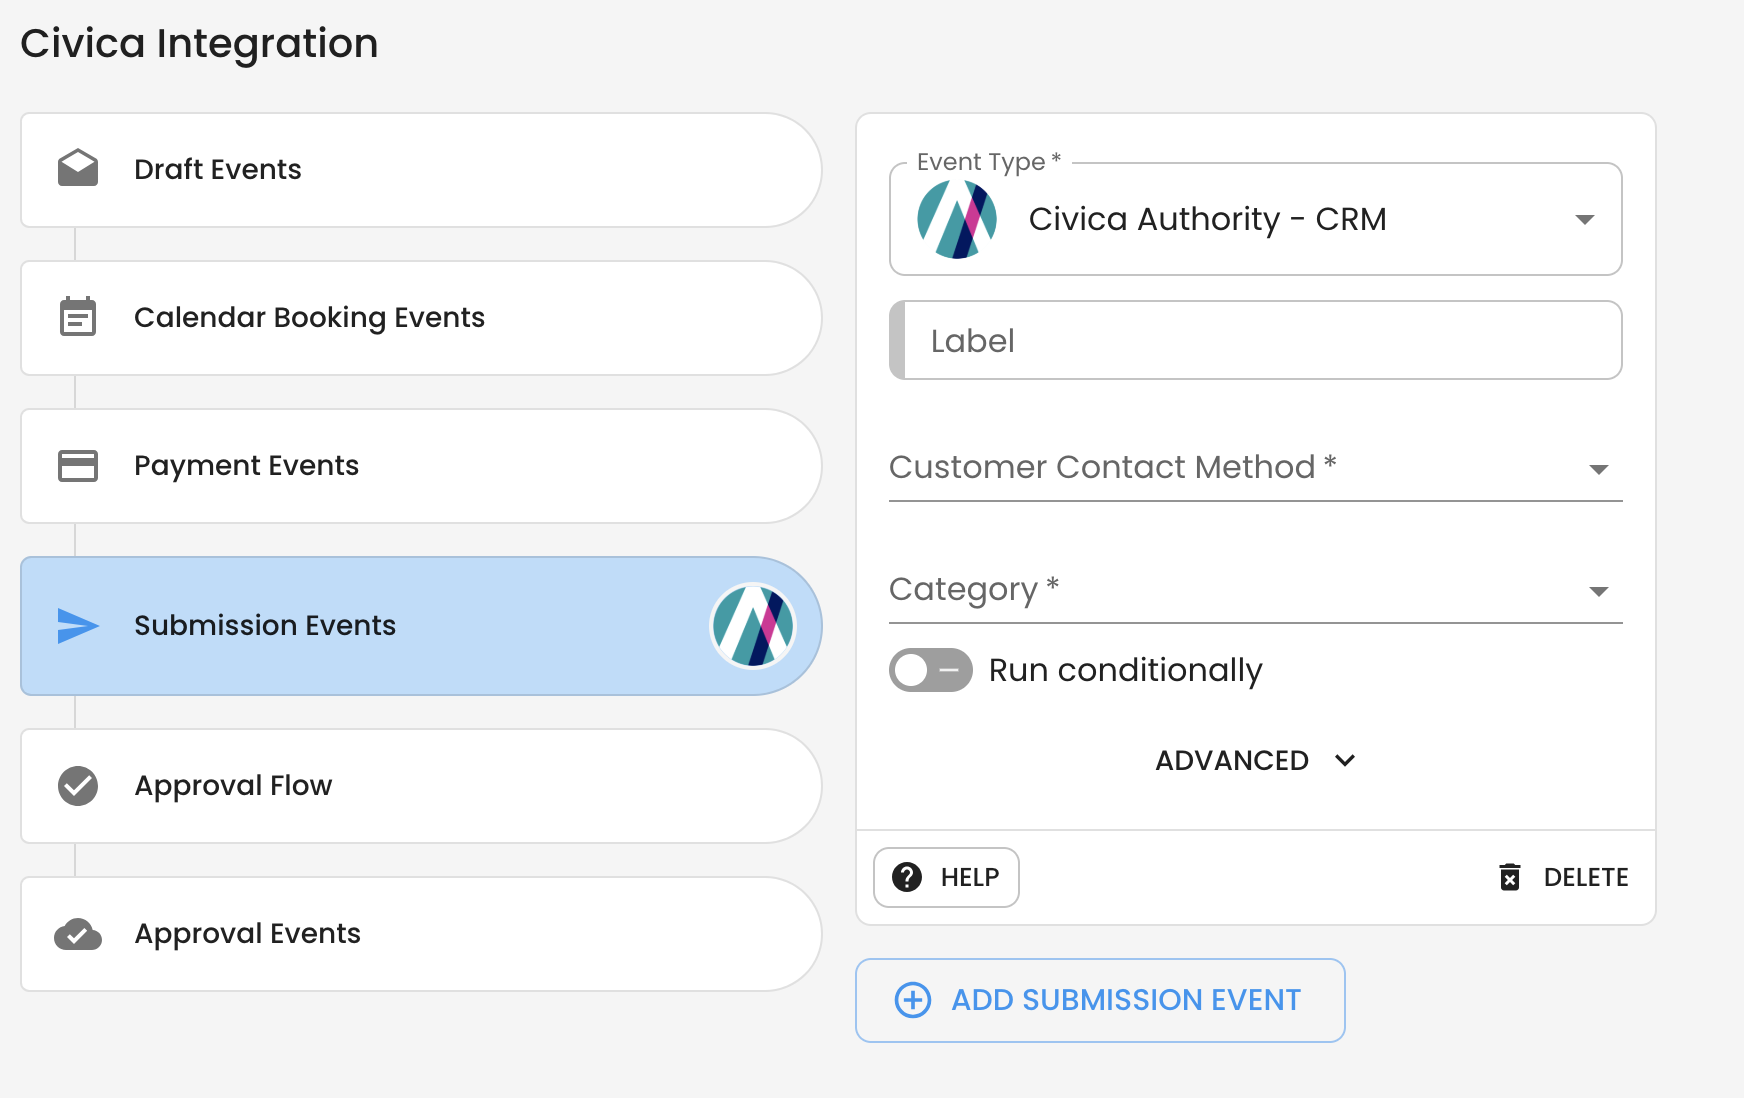
Step 1: Open the Workflow tab.
Step 2: Select Civica Authority - CRM.
Step 3: Select the Customer Contact Method from the dropdown.
Step 4: Enter the Category.
Step 5: Map the Category Items to the form elements you created.
If any form elements from the Category are missing, they will be highlighted in red. These elements must be added to the form before the submission event configuration can be completed.
PDF Configuration
The Civica Authority CRM workflow event includes PDF configuration options.
For more information, see the Submission PDF article.
Retry on Failure
If Retry on failure is enabled, the submission will be automatically retried 5 times.
If all 5 retries fail, a notification email will be sent to the app sending email address.
Getting Help
If you need any assistance with Civica Authority integration, please reach out through the Report Issue menu or email support@oneblink.io.
Was this article helpful?
That’s Great!
Thank you for your feedback
Sorry! We couldn't be helpful
Thank you for your feedback
Feedback sent
We appreciate your effort and will try to fix the article