This article covers setting up an approval workflow and all the configuration options available.
For more information on Workflows in general, check out this article.
TABLE OF CONTENTS
- Approval Flow
- Default Notification Configuration
- Preset Responses
- Automated Denial
- Approval Flow Clarification Request Configuration
- Email Templates
- Pending Approval Reminder
- Approval Events
- Get Help
Approval App
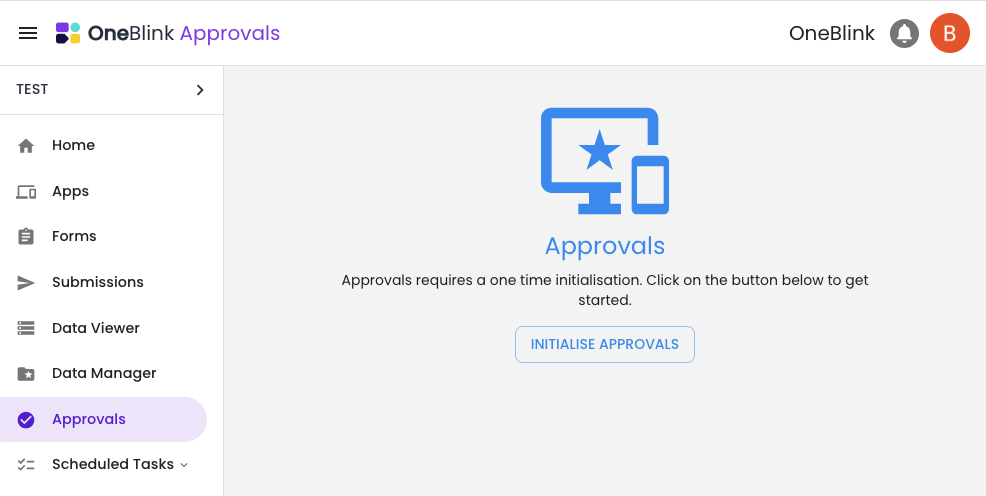
To start creating your approval flow, first make sure your approval app has been configured. Ensure you have approvers and that those approvers have been added to groups.
For more information, check out this article.
Once your approvals app is good to go, open the form you want to use and open the Workflow tab.

Approval Flow
Here you can configure your approval flows. Approvals allow you to add sequential or concurrent approval steps that need to be approved before the approval events trigger.
You can create an approval flow by clicking the "configure approval flow" button, allowing you to configure your approval steps. Each step has a label and is assigned a group.

Conditionally Required Steps
Steps can also be set to trigger conditionally based on the form submission, meaning that you only want an approval step to be required when specific conditions are met. You can configure that using the conditional logic configuration on that step.

Hide deny button
In some use cases, a specific approval set should not be able to deny the submission. In these instances, you can use the 'Hide deny button' switch. This will ensure the approvers within the group assigned to that step are not able to deny the submission.

Approval Forms
As part of the approval flow step, you can include an approval form. These forms need to be completed as part of the approval steps. Meaning that the approval form will need to be completed before the approval step can be completed.
Approval form data can be viewed in the approval applet, similar to the original submission. This allows administrators and approvers to view the content of the approval forms from any step.

Approval form data can also be captured in the Approval Events; see Approval Events for more information.
Concurrent Steps
In addition to having sequential approval steps, the approval process also incorporates concurrent steps. This structure requires multiple groups to approve a submission at the same time before advancing to the next sequential step.

Default Notification Configuration
Use the default notification email address to specify which form email element will be used to contact the person submitting the form. Once this is configured, the email address will be automatically pre-filled when actioning the approval.
If you do not want to send notification emails by default when denying a submission or approving the final step of a submission, the "Do not send notification email by default" switch will ensure that the "Would you like to notify the user that submitted this form and/or additional parties?" checkbox is unchecked.

Preset Responses
To make responding to approvals easier, use a preset response. Preset responses allow you to create a set of responses that can be easily added to your approval actions. Create a set of Deny and Clarification responses that can be used to pre-fill the notification notes for your approval actions.
The response notes can also include content from the form, such as the form name {FORM_NAME} or inputs from the form, e.g. {ELEMENT:element-name}.

Automated Denial
Automated Denial allows you to automatically deny approvals that have been sent for clarification after a set number of days. For example, if you want to automatically deny any approval that has been sent for clarification for 7 days of no response, as per the example screenshot below.
You also have the option to notify the submitter when the approval is automatically denied. When doing this, you can specify the email address you want to notify. If you are using a default notification email address, then that email address will be used for the automated denial email notification. You are also able to use preset denial responses for these email notifications as per the example screenshot below.

Approval Flow Clarification Request Configuration
Clarifications are an important part of approval flows, allowing approvers to send the submission back to the original submitter to fix any issues there may be with the submission.
Allow approval while awaiting clarification
By default, this setting is turned on, which ensures that any approval can be approved even when in a state of awaiting clarification. During this off will ensure that no approver can approve a submission while it is in a state of awaiting clarification.
Skip payment
In the platform, payments are made before the approval process. Meaning if an approval needs to be sent back to the submitter for clarification, they may need to make a payment again. To avoid any additional payments, the approver can choose to skip any additional payments by checking the "Would you like to skip the payment for this clarification?" checkbox. This configuration here is setting the default for that

Email Templates
Email templates allow you to customise the body of the email that is generated by the platform. For more information on Email Templates, check out the Email Templates Article.
Once you have an email template configured, you can set the email template to be used in your forms approval flow. Email templates are universal for the form flow, meaning they can be configured on a per-step basis.

Pending Approval Reminder
Approval reminders allow you to send reminder emails to Approvers if they have any approvals older than the threshold number of days that are awaiting action. The reminder threshold is specific to the form, meaning that all approval steps within the flow will use the same reminder configuration. Once the threshold is met then approvers will receive daily emails reminding them of their outstanding approvals. Reminder emails are sent at 7 am based on the timezone configured in your account. Please note that, unlike other email notifications, approvers are not able to unsubscribe from reminder emails.
This feature is currently in BETA, and we are looking for user feedback. If you have any feedback or suggestions, please reach out to support@oneblink.io.

Approval Events
Approval events are events that run when the final step in an approval has been approved. These are the same event options as draft and submission events.
Approval Forms
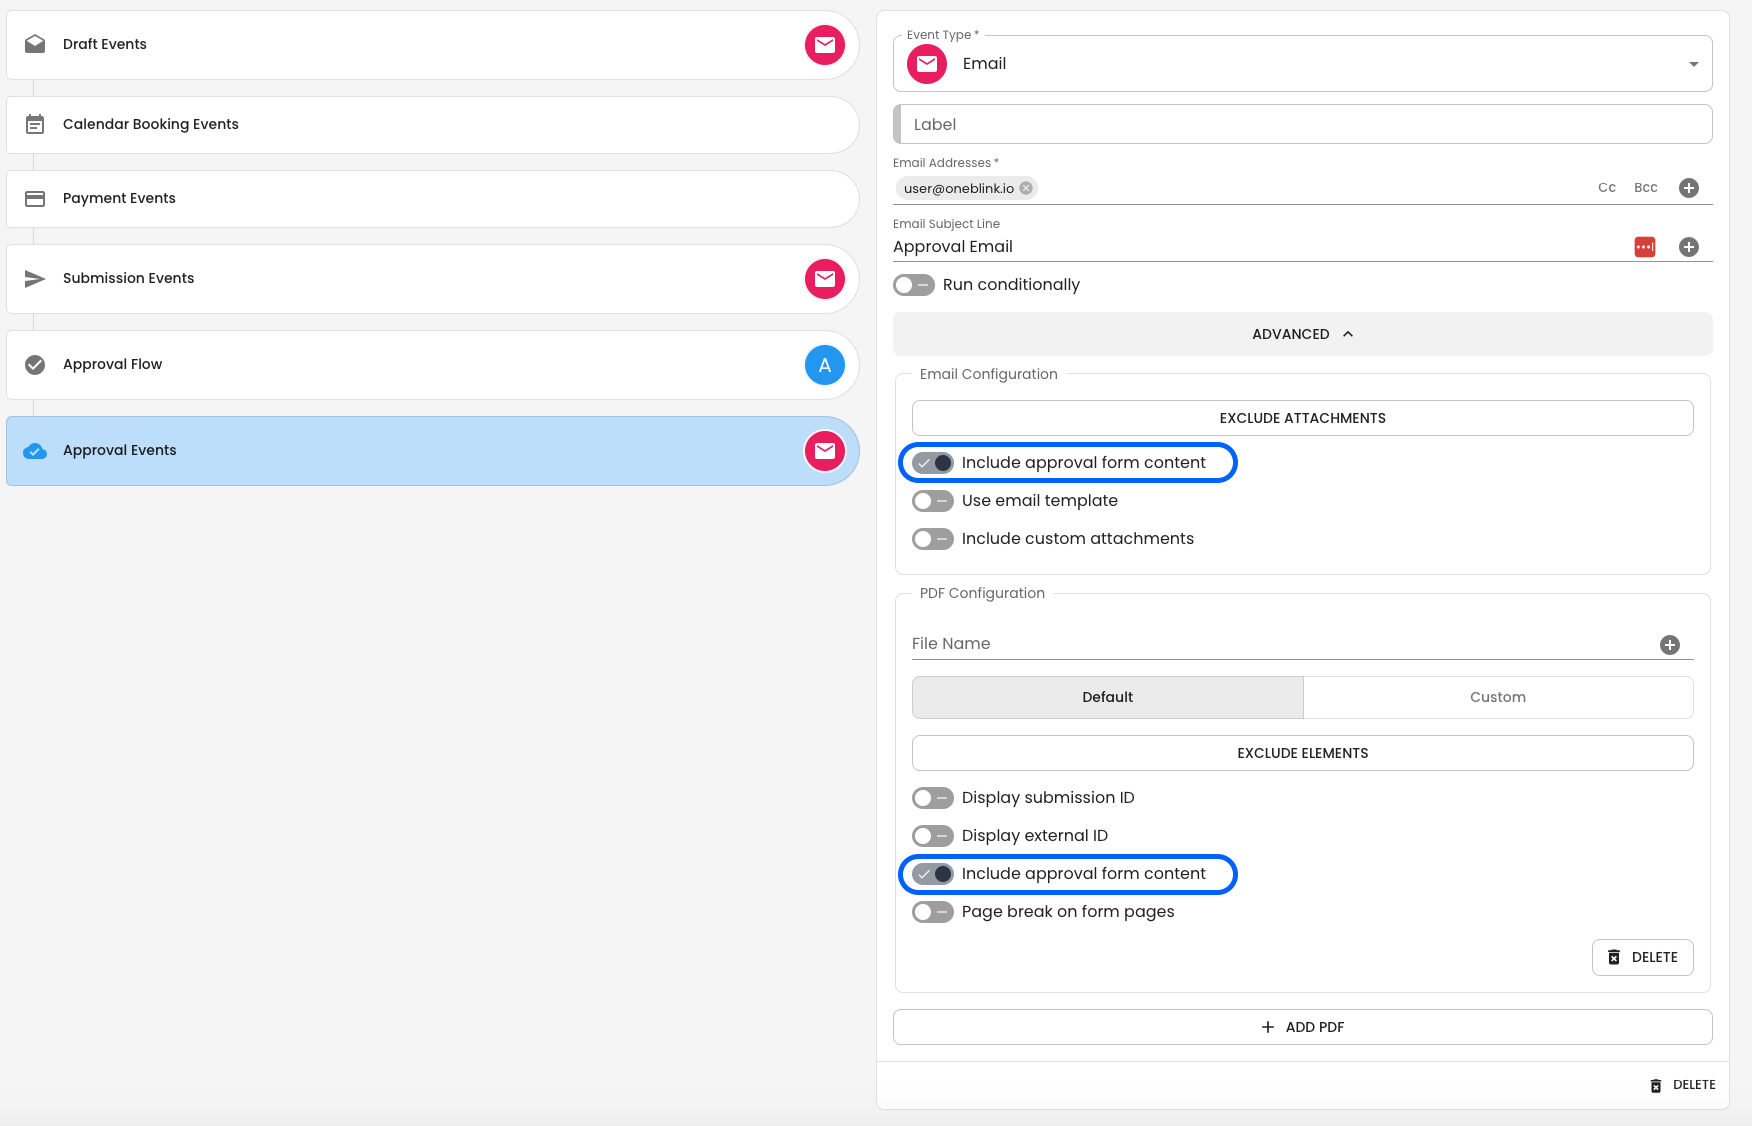
If an approval contains approval forms, the approval form data can be added to the submission event and PDF using the 'Include approval form content' button under the Advanced section in Email and PDF Configuration. Once this is turned on, all approval form content will be added to the submission event.

Get Help
If you have any questions or would like assistance with setting up your approvals please contact us via this support portal or email support@oneblink.io. We are happy to assist in any way we can.
Was this article helpful?
That’s Great!
Thank you for your feedback
Sorry! We couldn't be helpful
Thank you for your feedback
Feedback sent
We appreciate your effort and will try to fix the article