This article will walk through the process to create your first form. This is a great starting point if you are new to the platform and want to walk through the creation of a simple form and workflow process.
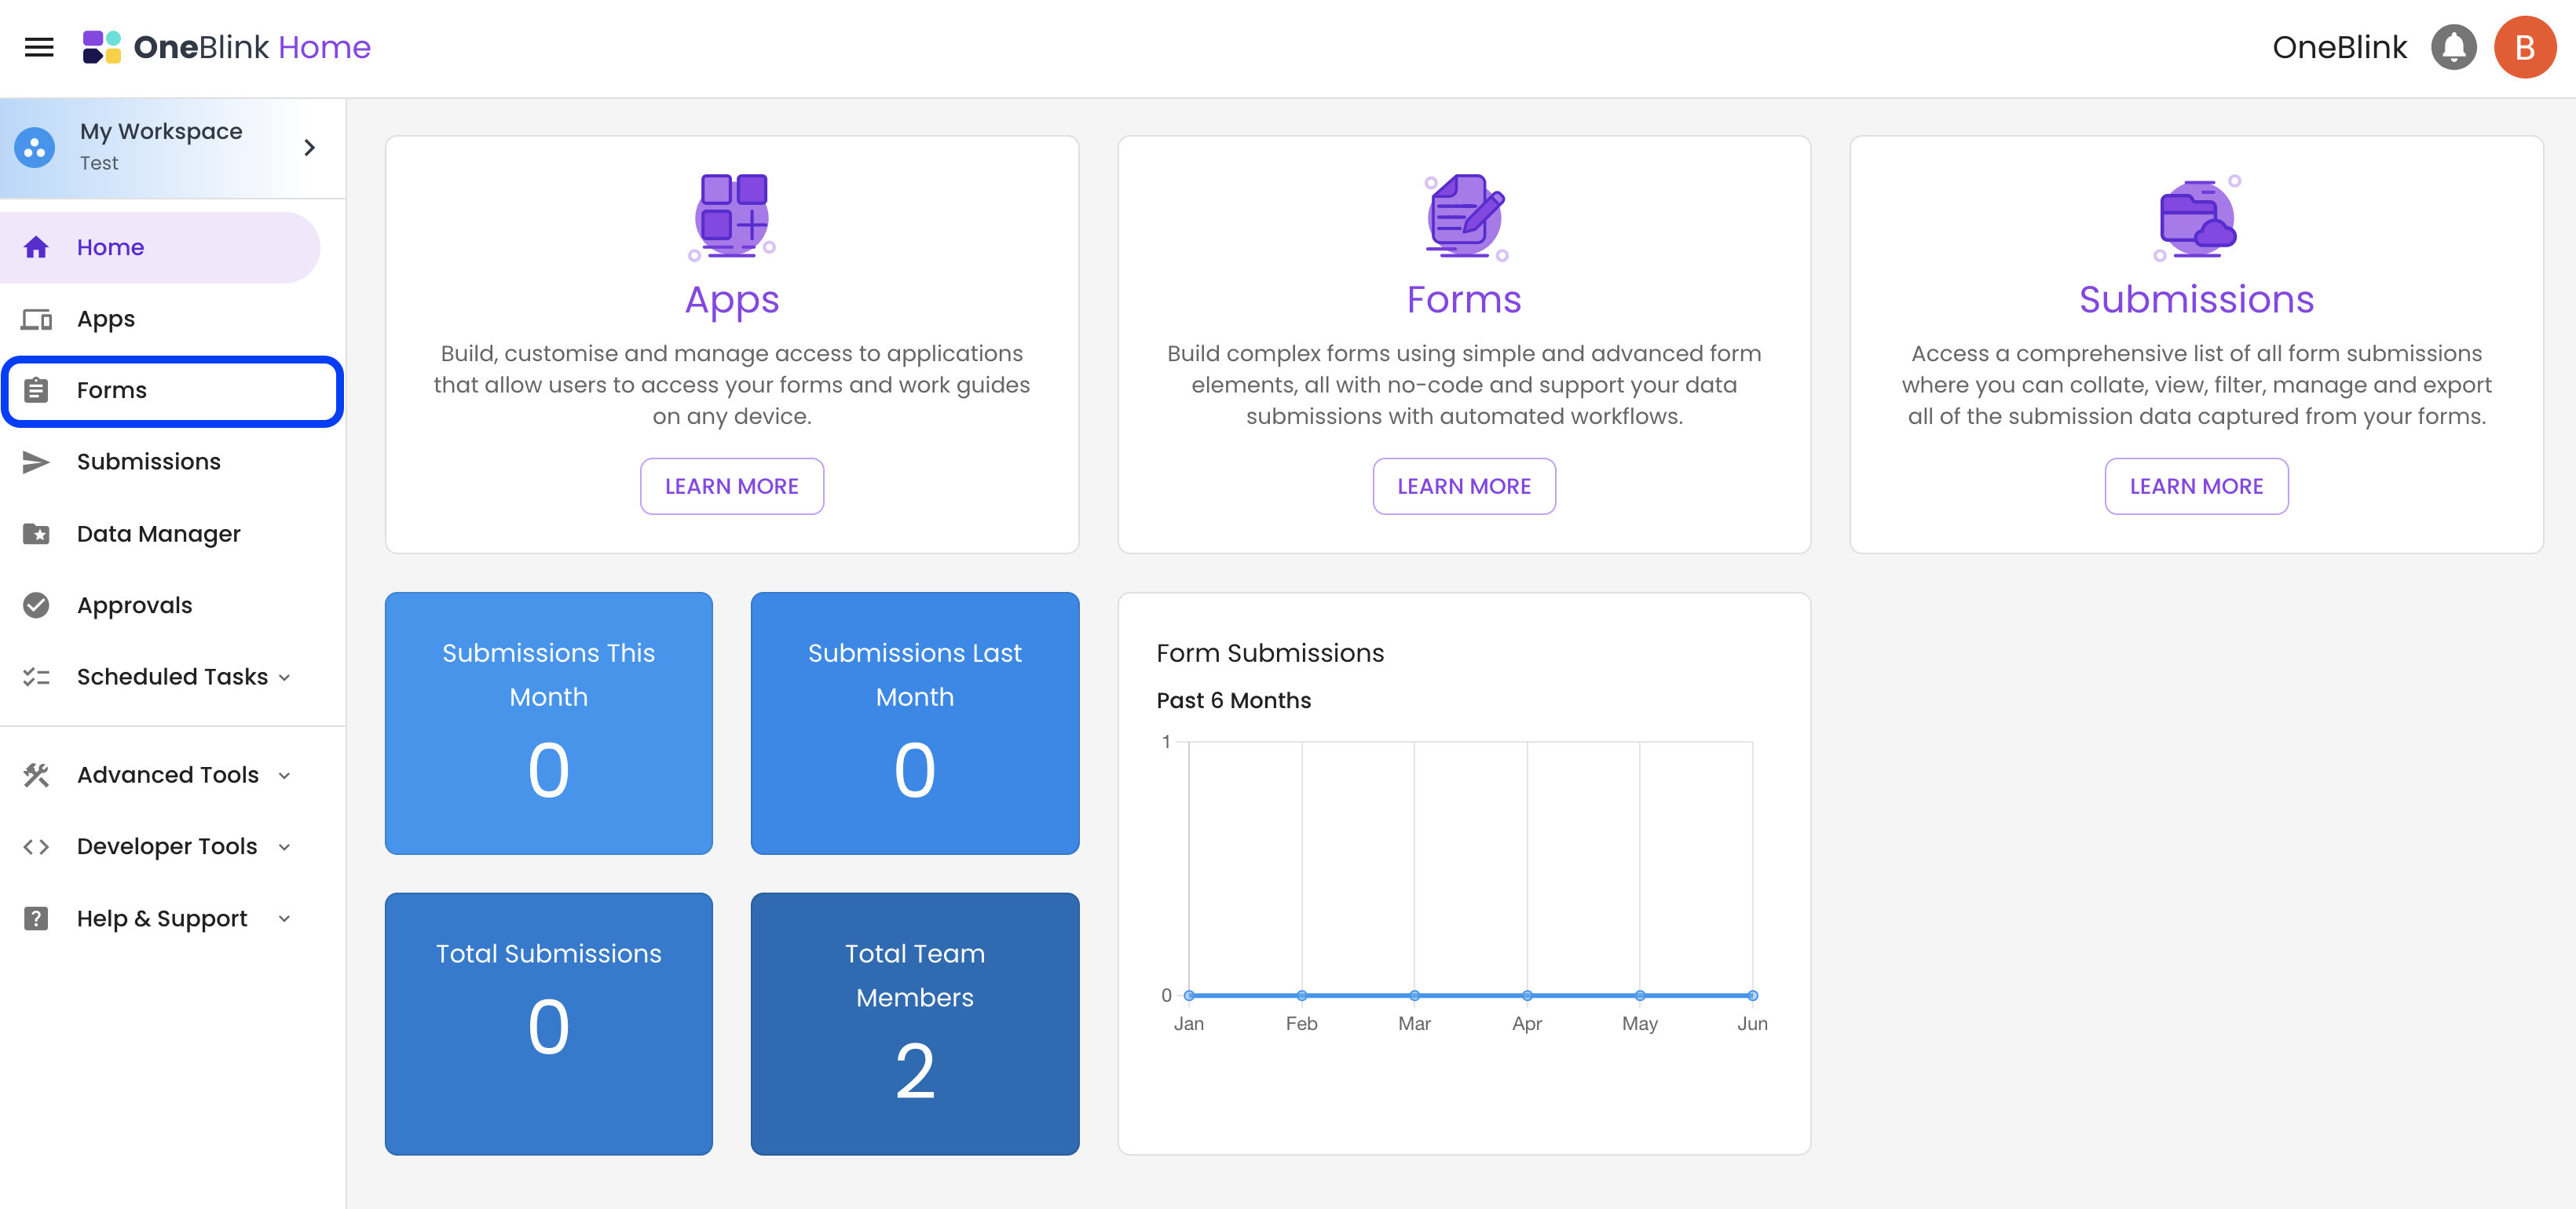
Step 1: Open the platform and click on the Forms menu.
Step 2: To add a new form to this list, click the plus + in the bottom right of the screen to create your first Form.

Step 3: Enter a form name, click the Public and then click Save.
Private forms require a user to log in. Public forms can be accessed by anyone with the link.

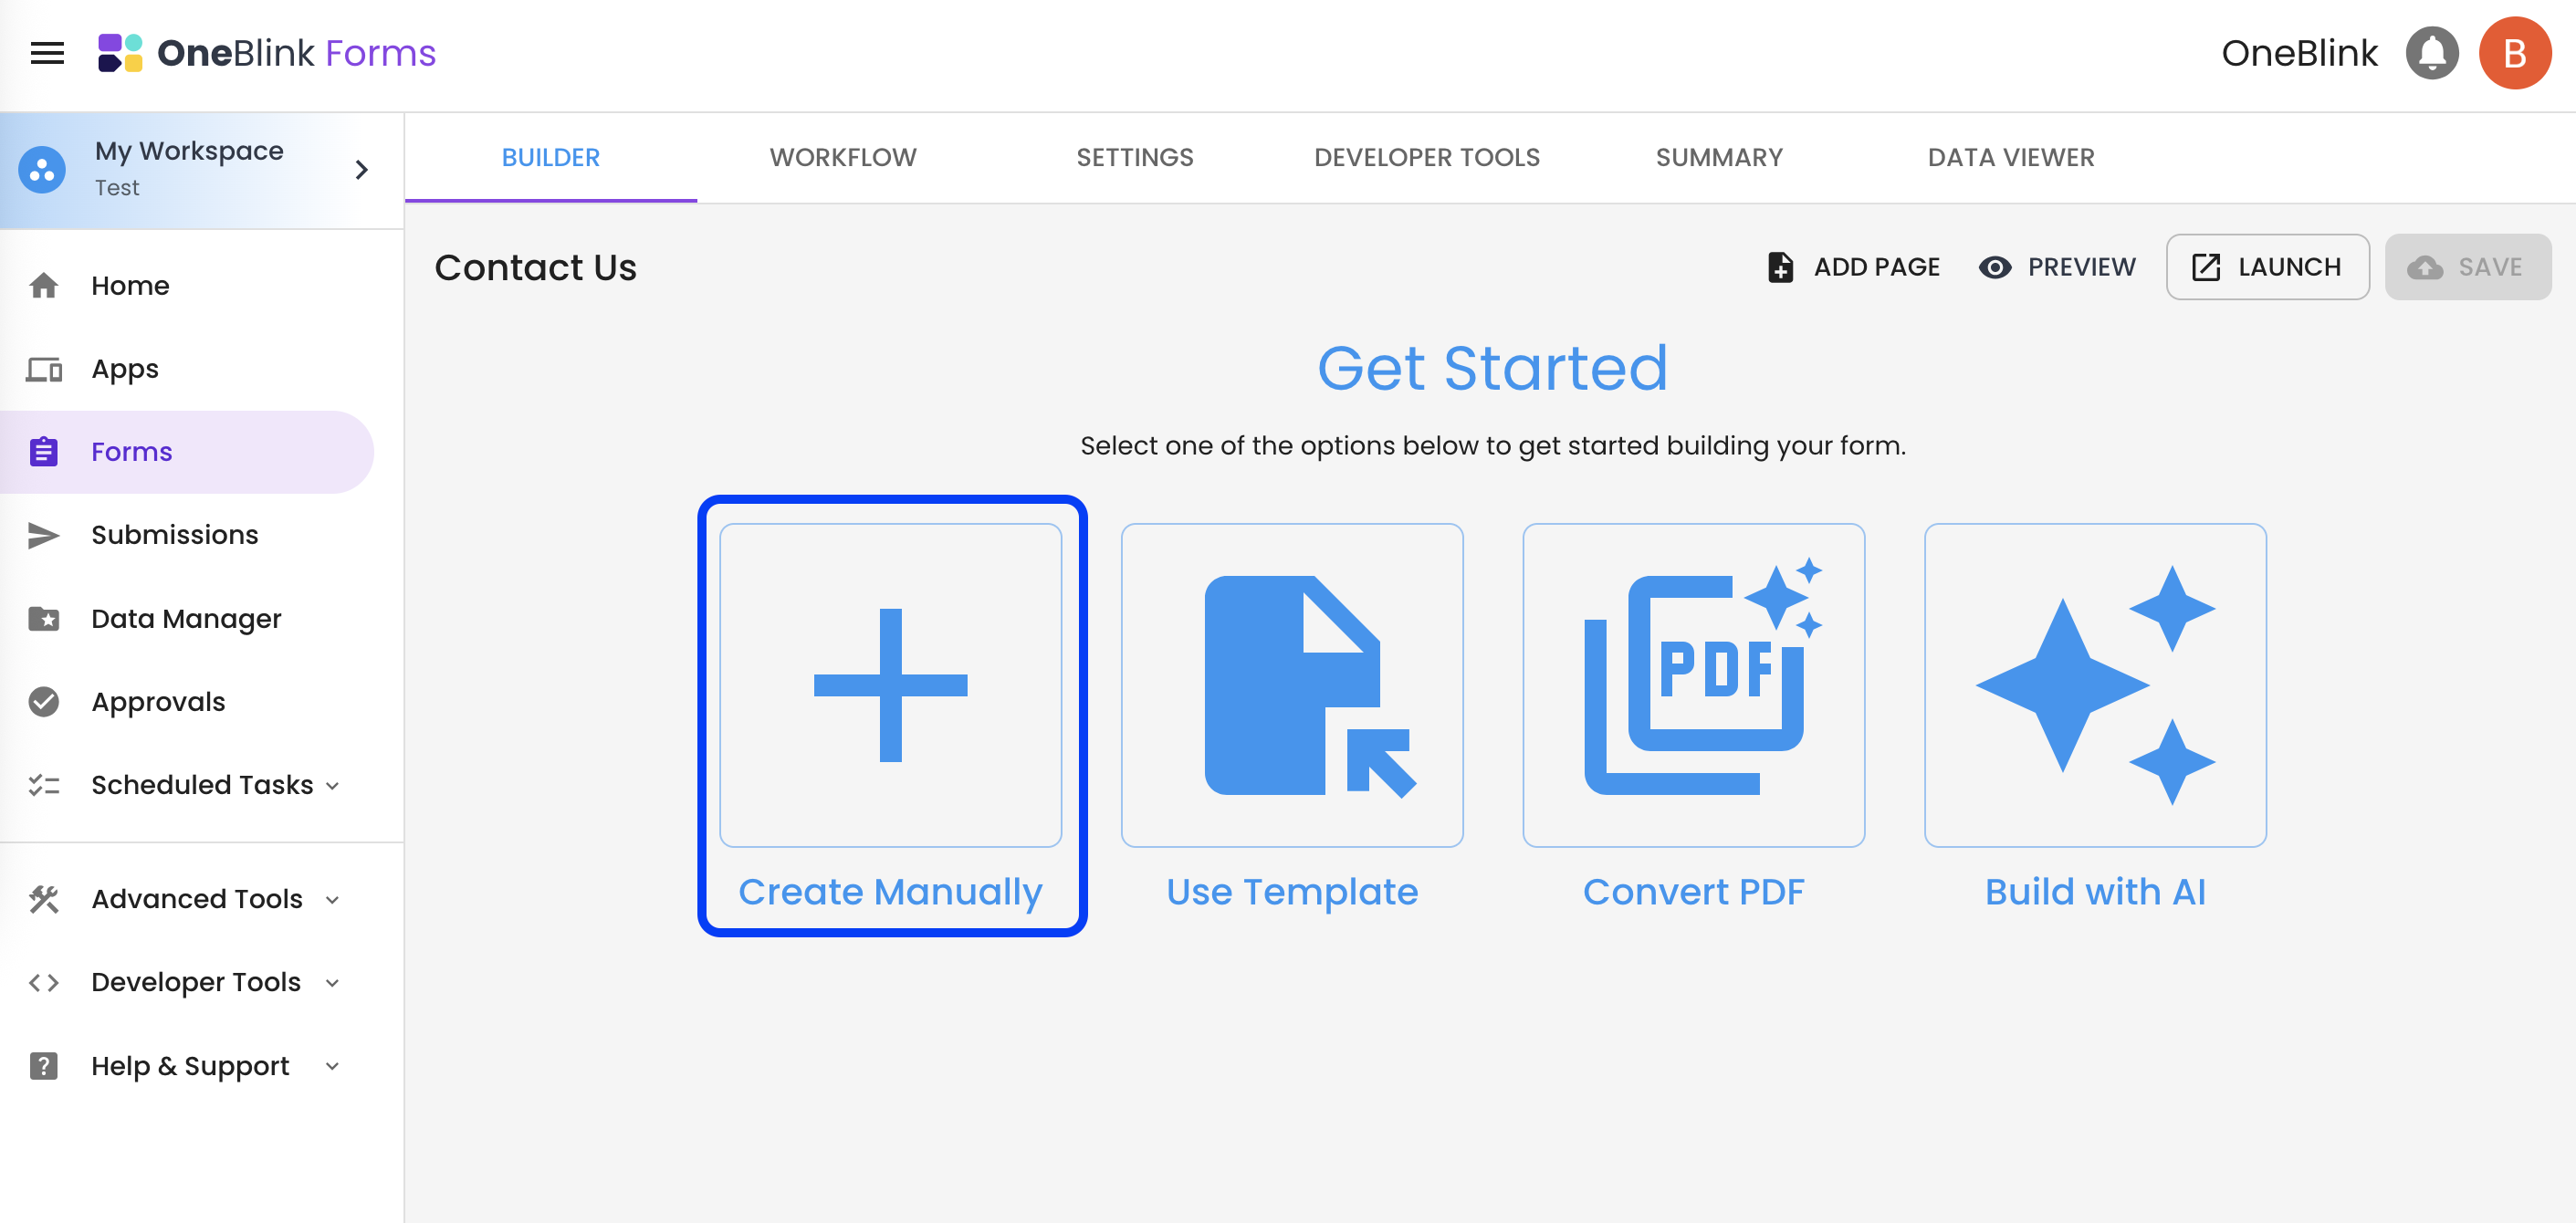
Step 4: We can now start building out the form. There are 4 options when getting started:
- Create Manually: Create each form element one at a time.
- Use Template: Start from one of the prebuilt templates.
- Convert PDF: Convert an existing PDF form into a OneBlink Form.
- Build with AI: Use a prompt to generate a form.
Click Create Manually so we can better understand how the builder works.
Step 5: You will now be presented with the Element Type picker, from here you can choose which element you would like to add to the form. To start, click the Heading element.
Each Element Type has a specific purpose. For more on each of the element types and what they do, you can check out the Forms article.

Step 6: Give your element a label. This is how it will be displayed to the person completing the form.

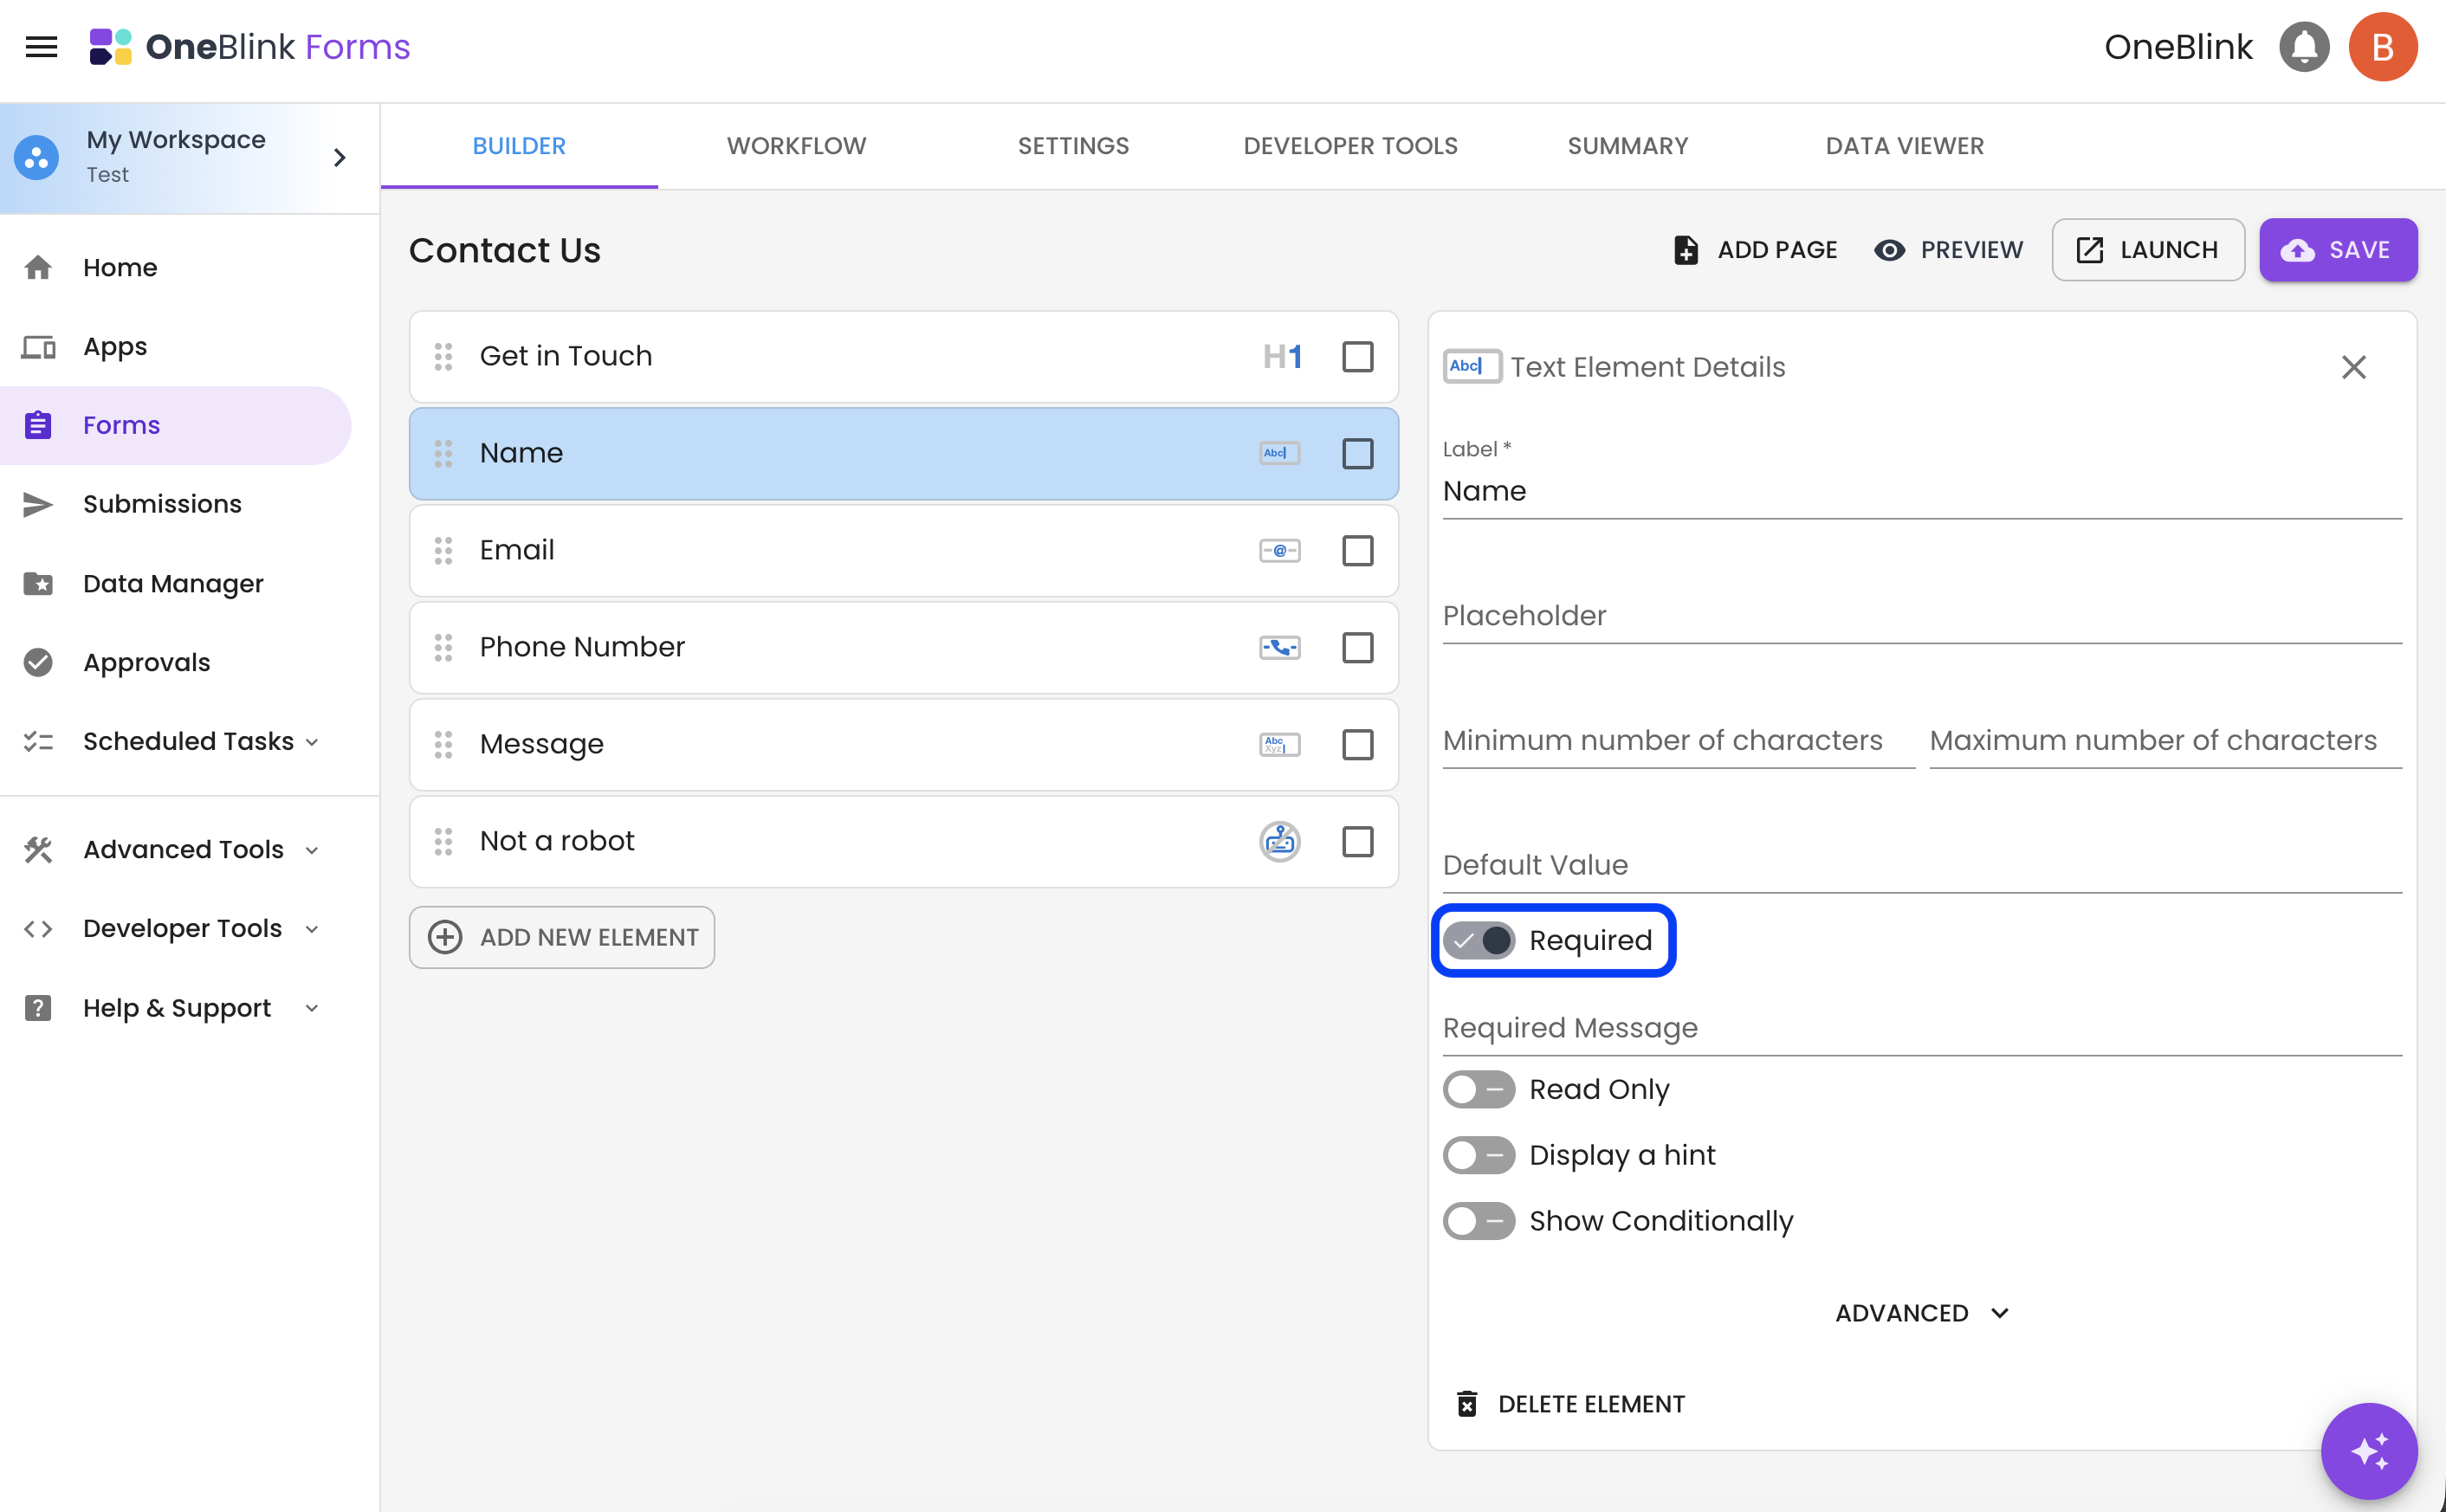
Step 7: Now, let's add some more elements by clicking the Add new element button. We can add a Name (text element), Email (email element), Phone (phone number element), and Message (text multi-line element).


Step 8: Now you will notice a big orange banner at the top of the form. This is telling you that the form is public and does not include a 'Not a robot' element. So let's add one of them to stop bots from submitting your form.


Step 9: Now we will want to make some elements required to ensure the user fills them in before they will be able to submit. So let's make the Name, Email and Message required. This is done by clicking on the element and then turning on the Required switch in the element's details.
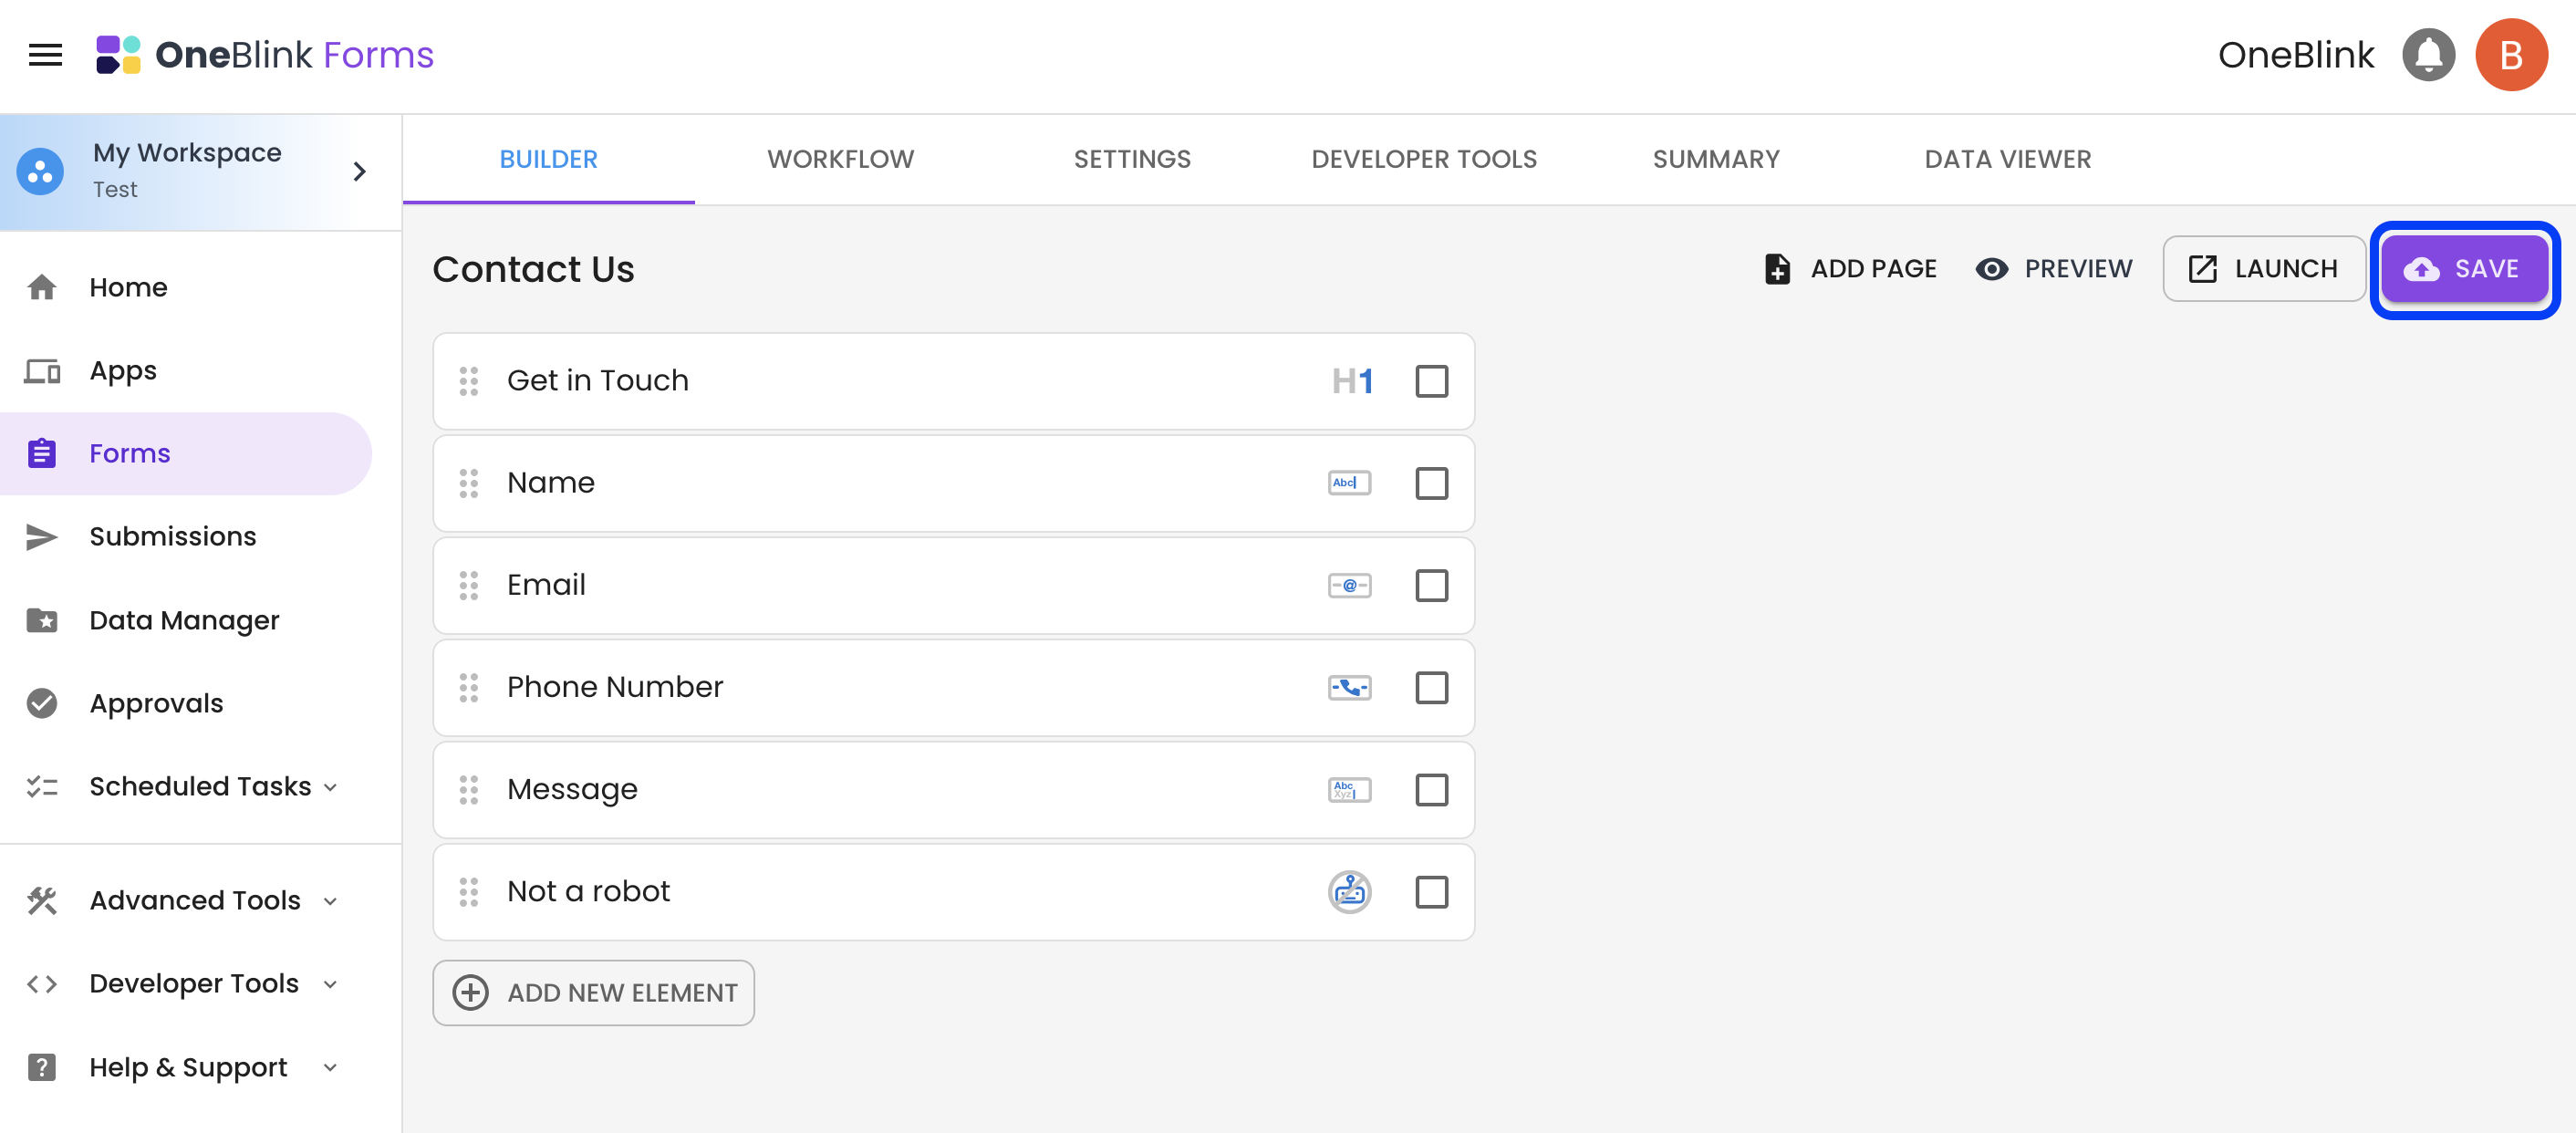
Step 10: Click Save to ensure all your changes are saved.
Step 11: Now that you have built out your form, let's make sure something happens when it is submitted. Navigate to the Workflow tab.

Step 12: Let's add an Email submission event, so we can see the form working. To add a submission event, click the Add Submission Event button and add an Email address where you want the notification to be sent. Click Save. We will now receive an email whenever the form is submitted.


Okay, let's see it all working. Now, click the Launch button in the top right of the screen.

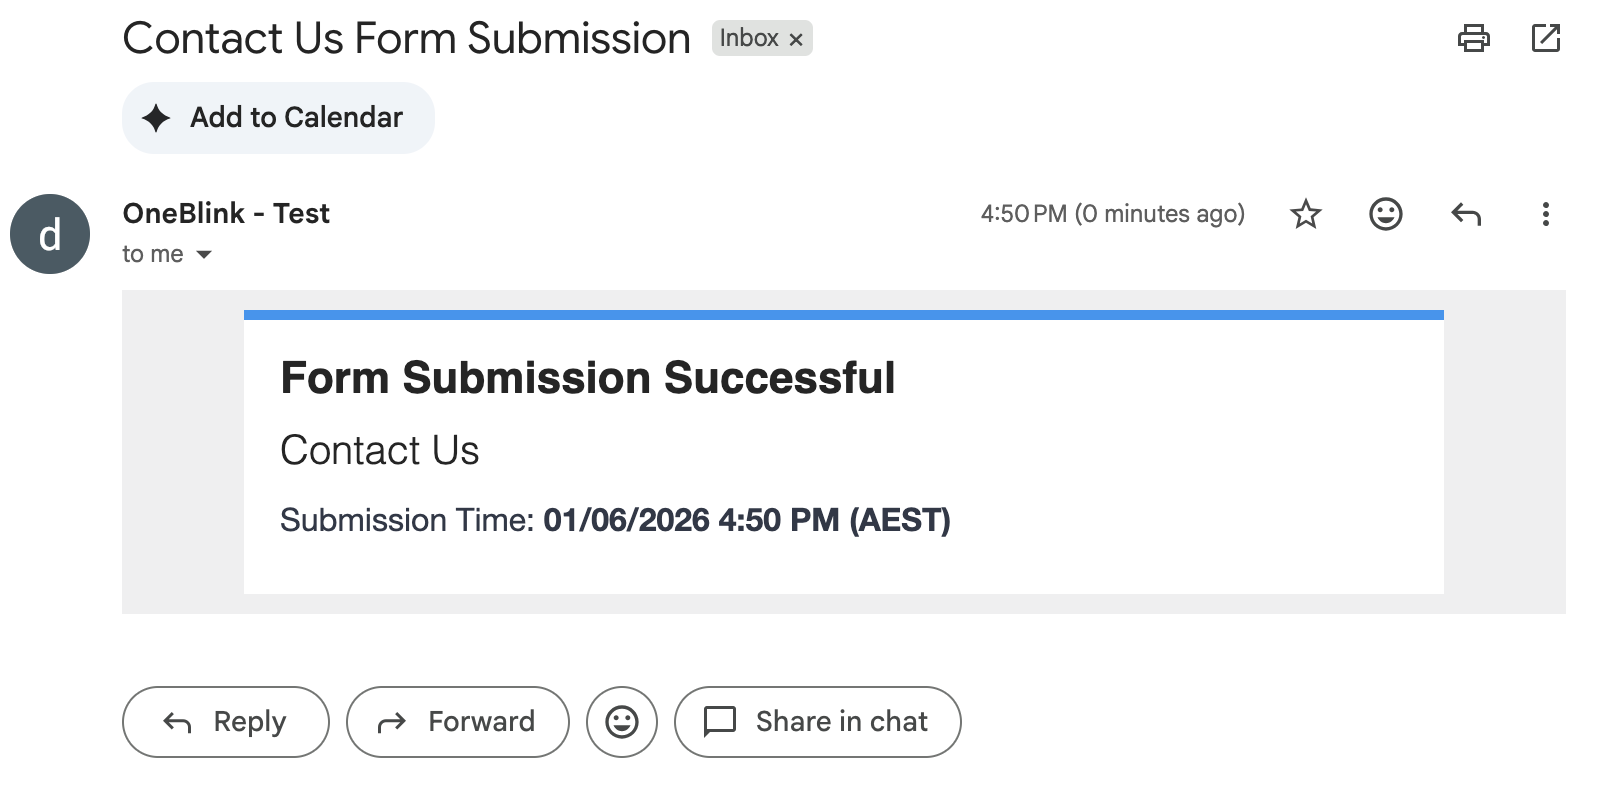
From here, you can complete your Contact Us form and begin filling it out. Once it has been filled out you can click the submit button. This data will be stored, and an email will be sent to the email you linked in the submission event.

Congratulations, you have just completed your first form and workflow. There is lots of more you can do with the platform. To start learning more, check out some of our other knowledge base articles.
Getting Help
If you need any assistance with Forms, please reach out through the Report Issue menu or email support@oneblink.io.
Was this article helpful?
That’s Great!
Thank you for your feedback
Sorry! We couldn't be helpful
Thank you for your feedback
Feedback sent
We appreciate your effort and will try to fix the article